Showing posts with label paper flowers. Show all posts

Monday, July 15, 2013

Memorial Day 2013


To start back off on the right foot, I thought I'd start off with a fun post which you may find to be a recurring theme here: Memorial Day.

I know, I know...it seems like it was forever ago already, but we always have a lot of fun on Memorial Day, and I have a few really awesome things I want to share with you all. 

One reason I love to share with you all is because I know many people out there are still on a limited budget, or are simply "bargain hunters". We are always working with a limited budget, so I love sharing with everyone all of the simple, cute, budget friendly, easy ways to make your parties POP. 

I wont lie....a lot of my ideas this year came from Pinterest. But, I always love finding an amazing DIY or Craft on Pinterest that actually works, so I love to share all those great ideas that actually work with you too :)

I'll even be nice and NOT do a picture overload post for my first post back, I'll just hit all the fun highlights and do a mini overload :-)

Off to it then!


First, the decorations:

To start, my mom was awesome and brought these cute little red, silver and blue stars, mason jars, rocks to weigh them down, and red doily's to go underneath. I didn't have enough time to finish up enough centerpieces I was making myself, so these were the perfect addition to fill in the table with. They were simple, yet incredibly cute.


~*~*~*~*~*~*~*~*~
Next, I have seen quite a few posts about coffee filter flowers and garlands, and being able to stain or color the coffee filters. I looked up a couple tutorials and thought that they would make great centerpieces and a cute garland. Coffee filters are incredibly cheap (I think i bought a package of 150 for about $4.00?) so there was no way I was NOT going to try it.

I used the "dip dye" method for my flowers, which is fairly simple. The worst part was finding somewhere for them to dry when we had no clothes pins (I rigged something up with safety pins on our drying rack), then waiting for them to dry. 

The result was a darling garland that we hung along the retaining wall that runs along our driveway, and some super cute centerpieces:


~*~*~*~*~*~*~*~*~


~*~*~*~*~*~*~*~*~


~*~*~*~*~*~*~*~*~


Now...about those centerpieces. 

I was inspired by another amazing blogger over at A-Z Celebrations, who originally shared a DIY on how to make them for Cinco De Mayo. (See her full post HERE).

They were SUPER simple to make..
.
Well...they should have been, but I tried to use super glue instead of hot glue (fail...always use the hot glue)....then I tried to add stems to the flowers instead of just using ribbon, and then I had to have rocks in the bottom to hold the stems up and the flowers kept falling off...and yeah...

Just follow her DIY and your life will be MUCH simpler and all the more cute. They are super budget friendly and stunning on any table and you can do them in ANY colors. 

~*~*~*~*~*~*~*~*~

I think paper straws are as much a part of the decor as they are useful, so we'll throw them in with the decor too. The straws were purchase from a shop on Etsy called The Party Fairy.


She has all kinds of great party goods, and I couldn't resist the combination of the Chevron with the Stars for these straws. I threw them into a mason jar and that's all they needed!

~*~*~*~*~*~*~*~*~

Next: Some fun outfit additions :-)

It's been noted that I wear a lot of dark colors. Lots of black, grey and sometimes blues, so finding something Red, White AND Blue to wear was difficult for me. I decided I would wear what I was comfortable in, and just add some festive decor to my outfit. 

I purchased a simple Chiffon Lace flower on Etsy from Wholesale Dezigns.
I slid a piece of round felt into a bobby pin, and hot glued the flower to the felt and pin. 


Quick, simple hair flair!

~*~*~*~*~*~*~*~*~

Next, I made a cute pin from my own Spiral Paper Flowers, covered them in glitter spray and they were a shiny fun addition to my ensemble.


~*~*~*~*~*~*~*~*~
Lastly, I fell in love with these leg warmers I had spied on Etsy at Three Bird Nest a while back. Luckily, the went on sale about a month before Memorial Day, and I had to scoop them up.

Even though it was a little hot, I HAD to wear them. The Uncle Sam in the parade (who walks with the Uncle Sam Choir) absolutely LOVED them, and had to point them out to the entire choir that was riding on the float behind him.

 Makes for a fun story, if nothing else ;-)


~*~*~*~*~*~*~*~*~

Lastly: Food and Drinks!

Oh my goodness! I think I had too much fun this year with our food...but it was too fun not to.

First of all...Did you know that you CAN, in fact, dye pasta while you cook it?? This is one of those things that I wasn't sure would work or not when I read it...but it was really simple and came out so fun!
Of course, my pasta had to be Red, White and Blue, so I did have to cook it in 3 batches, but that means I ended up with some really fun pasta salad!
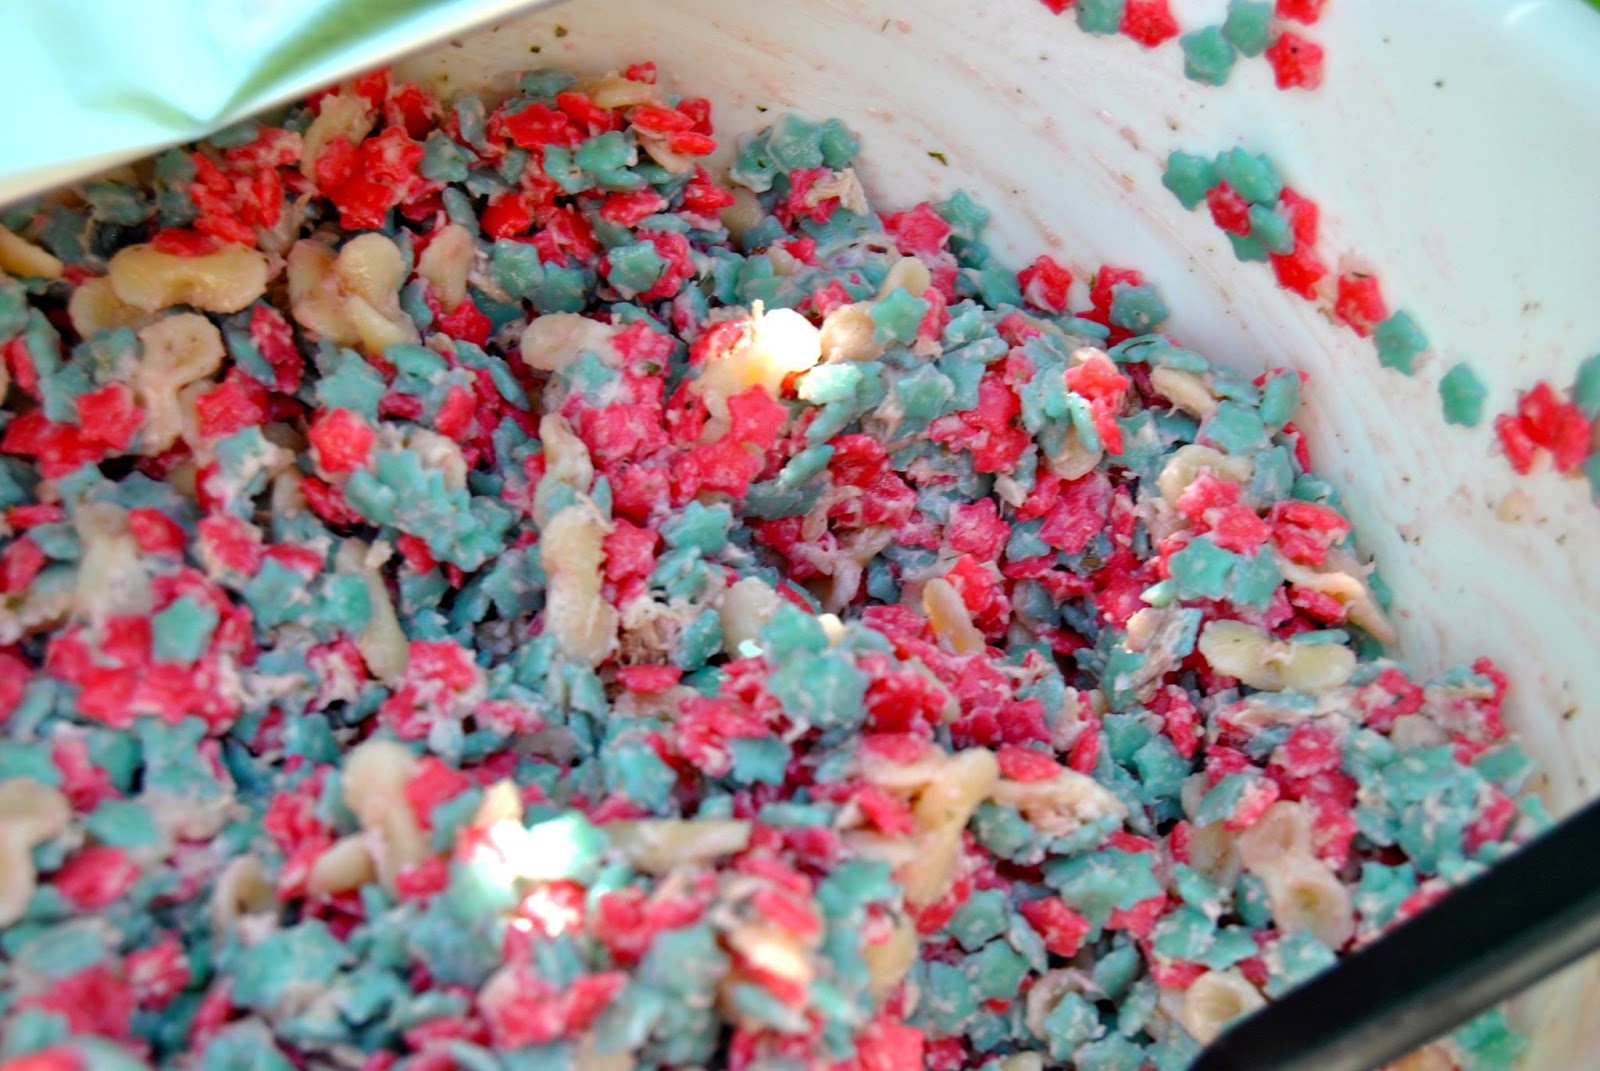

Yes, those are cute little red and blue pasta stars. You simply just need to add food coloring to the water before you add the pasta and as it cooks, it sucks in the food coloring. This might LOOK better with an Italian dressing type of salad (so the Mayo doesn't drown out some color), but we love our Tuna mac salad in our family, so this is what we got :)

~*~*~*~*~*~*~*~*~
Another awesome find: Did you know that you can layer drinks based on their sugar content??
I knew you could layer alcoholic drinks, and I always thought that was based on alcohol content...but these drinks are 100% alcohol free, and were actually really tasty, even though there are 3 different flavors of drinks in there!


~*~*~*~*~*~*~*~*~


The cups are simply clear plastic cups and I rimmed them with Red, White and Blue rimming sugar that I purchased from Dell Cove Spices on Etsy.

It did take me 3 tries to get the layering right, and I had to look up tips online in order to get it to work.
The biggest trick to this is to add the first color (the one with the most sugar content, the one you want on the bottom) and then fill the cup with ice. Then you SLOWLY pour the next one over the ice so that it doesn't mix. The results are totally worth the multiple tries to get it right!

(My first attempts results)

For my drinks I used:
Red: Ocean Spray Cran-Apple Juice (32g Sugar)
White: White Cherry Powerade (21g Sugar)
Blue: Blueberry Pomegranate G2 (Gatorade) (7g Sugar)

~*~*~*~*~*~*~*~*~

Dessert time! I made two different cakes this year, simply because I couldn't decide between the two. The simple cake was a flag cake, made using a flag shaped Wilton cake pan (purchased at a yard sale for $2?) and decorated with strawberries and blueberries on the outside. The inside was of course, red, white, and blue cake.
This one was cute, but didn't get cut (and therefore pictures of it) until the next day because everyone wanted some of the OTHER cake. 

~*~*~*~*~*~*~*~*~


~*~*~*~*~*~*~*~*~

Now, this second cake was a bit more difficult, but came out great and was the cake that EVERYONE had and raved about.


It looks simple enough on the outside...a white layer cake, covered in sugar (it's actually that rimming sugar from Dell Cove Spices again!. I ordered too much and thought that would be the perfect use for it!) 

The real fun comes when you cut into the cake ;-)


~*~*~*~*~*~*~*~*~


Yum!!

The cake was delicious - simple white box cake, with vanilla frosting. I couldn't find a pre-mixed bag of Red White and Blue M&M's, so my husband and I sorted out Blue and Red in both regular and Mini Size, and the white and dark blue are actually York Peppermint Patty Bites. The touch of mint made a really nice addition to the cake.

The cake was inspired by THIS cake on the Betty Crocker website.

My only issues with the cake were:
1) I have different sized cake pans (6,8,10 and 12") so I had to cut my layers to be the same diameter, and it came out a bit uneven (you can see the bowed part in the first picture there).

and 

2) The part I took out in the center was much too large of a circle. It took a LOT of candy to fill it. Not that the kids had any problem with that..

~*~*~*~*~*~*~*~*~

Hope you had a great holiday, and  great 4th of July too!


Party Inspirations:
Recycled Tin Can Centerpieces: A-Z Celebrations
Surprise Cake: Betty Crocker

Party Supplies:
Paper Straws: The Party Fairy
Rimming Sugar: Dell Cove Spices
Flower in hair: Wholesale Dezigns
Flower Pin: Origami Delights
Leg Warmers: Three Bird Nest

Tuesday, January 8, 2013

Happy New Year!

I hope you all had a wonderful, safe and happy new year this year.

On the other hand, I seem to have a "bad rap" with New Years...

2011 Began with me having surgery.
End of 2011/begining of 2012 - my husband and I came down with a horrible stomach virus.
End of 2012/ beginning of 2013 we lost of a dear loved one, and I was sick with a sinus infection and lost my voice for nearly a week.

The new year is a time to be "starting fresh" or "starting over", isn't it? It seems to me that the final week of December through the first week in January is the worst time of year for my family and I. 


I'm hoping to turn this year around, and get it back on track to be "MY year". A year for good and positive changes and events.

So, to start getting rid of the bad mojo that this year has begun with, I compiled a list of all of the blogs/parties/magazines that my Origami has been featured in.

I am so thankful and happy that I was able to work with each and every one of these amazing bloggers and party planners. They are all incredible in their own way, and have worked so hard to get to where they are now. It was an absolute pleasure to work with each and every one of them. Thank you so much to all!

If you haven't seen one/any of these posts before, you absolutely HAVE to check them out. The details are incredible, and nothing was missed from ANY of them!

~*~*~*~*~*~*~*~*~*~*~*~*~*~*~*~

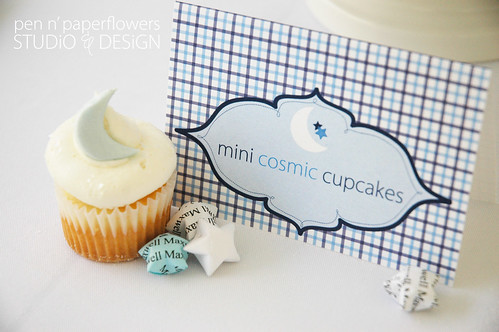
Love you to the Moon Baby Shower
By: Pen and Paper Flowers
Featuring: Custom printed lucky stars

Blog Post:

(Party was also featured on Amy Atlas Events):


Pen and Paper Flowers has also featured my Lucky Stars and Fortune cookies, which were made from a set of Designer Paper that she herself made:


~*~*~*~*~*~*~*~*~*~*~*~*~*~*~*~

Abracadabra ~ A Magic Party
By: The Party Wagon
Featuring: Lucky Stars and Star Balls

Blog Post:


~*~*~*~*~*~*~*~*~*~*~*~*~*~*~*~

Boat Party ~ Sailor Party
By: The Party Wagon
Featuring: Origami Boats

Blog Post:


~*~*~*~*~*~*~*~*~*~*~*~*~*~*~*~

Superhero Party
By: Crossing the Bugger-Dixon Line
Featuring: Custom Printed Lucky Stars

Blog Post:


~*~*~*~*~*~*~*~*~*~*~*~*~*~*~*~

A Lorax Inspired Giveaway
By: Crossing the Bugger-Dixon Line
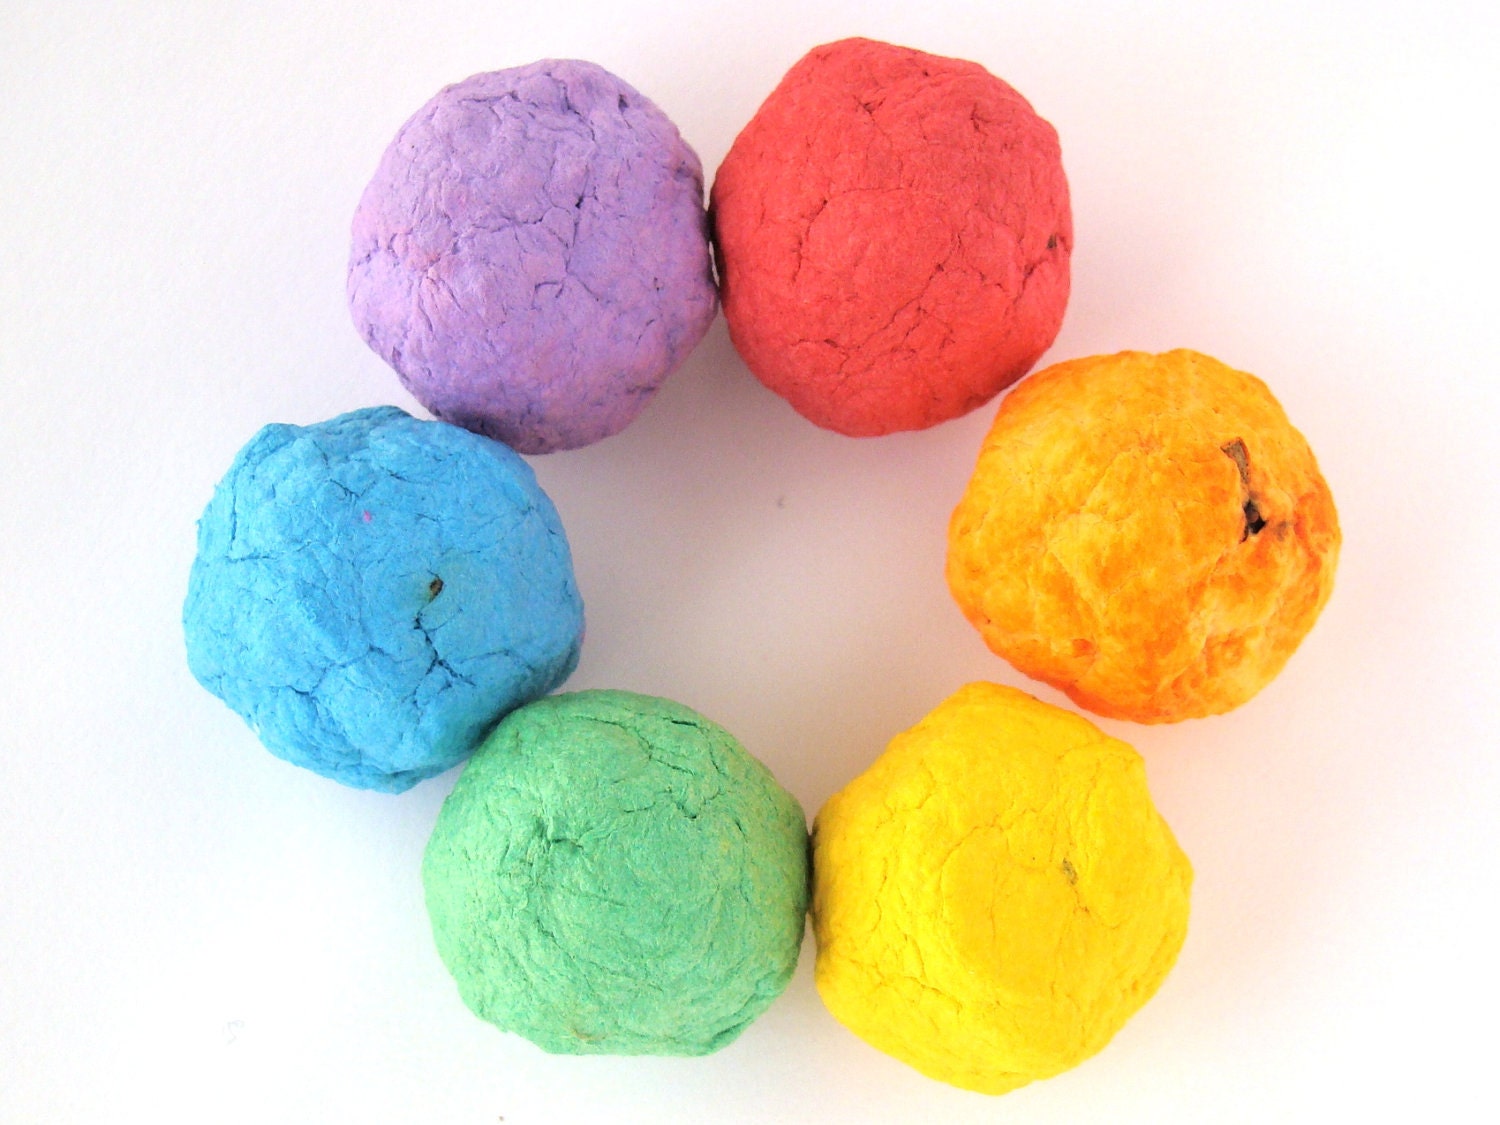
Featuring: Seed Bombs

Blog Post:


~*~*~*~*~*~*~*~*~*~*~*~*~*~*~*~

Rollerskate Party
By: Crossing the Bugger Dixon Line
Featuring: Large and Small Flower Balls

Blog Post:

(Party featured in Bird's Party Magazine):


~*~*~*~*~*~*~*~*~*~*~*~*~*~*~*~

Superhero Party 
By: A Little Tipsy
Featuring: Custom Printed Lucky Stars

Blog Post:

(This party was also featured on her local T.V. Station!):


~*~*~*~*~*~*~*~*~*~*~*~*~*~*~*~

Fall Festival Photoshoot and Giveaway
By: Violet's Buds
Featuring: Spiral Paper Flowers and Lucky Star Garland

Blog Post:


~*~*~*~*~*~*~*~*~*~*~*~*~*~*~*~

I do so hope you head over and check out the details from each one. 

They are all incredibly amazing and so much work was put into each and every party and feature.

Share the love :)


Tuesday, November 13, 2012

Day 13: 30 Days of Thanks Giveaway!!

It was so beautifully warm the past couple days. I sat out on the porch while the kids played in the yard and just enjoyed the sunshine.

I hope you get to take a moment over the next few days to just stop and enjoy the moment too.

For the Giveaway today, I have donated something from my own shop.

These flowers are one of the newer items in my shop (I only just started making them this past spring). I absolutely adore them, and am honestly in love with them myself.

They are so simple, yet so beautiful.


They are so versatile and easy to customize to any color scheme. I have yet to find a color combo or paper that does NOT look good in these flowers.

For todays prize, the winner will be receiving a bouquet of RAINBOW flowers, with stems.


You can display them year 'round, and they'll never wilt on you ;)

Use the Rafflecopter widget below to enter for your chance to win!

Not entering, but still want contact info? You can find Origami Delights here:

PLEASE NOTE: Entries are limited to residents of the US only. The Rafflecopter tool does not have a filter and therefore WILL allow you to enter even if you are outside the US, but to be fair on shipping costs to all of the sponsors, only those within the US will be eligble to claim the prizes.

a Rafflecopter giveaway

Remember: some important notes and quick reminders about the giveaway (these reminders wil be posted each day of the giveaway!):


1) Each entry that you earn with be checked for accuracy. Please do not say you following a blog, made a purchase from a shop, like a page, etc. if you in fact did not. If you are caught cheating, you will be automatically disqualified from the ENTIRE giveaway, not just the one day.


2) Whether you win or not, please take a moment to say "thank you" to the sponsors. Each sponsor took their own time and resources to provide us with the opportunity to have this wonderful giveaway. No sponsors = no prizes = no Giveaway.

It only takes a moment to pop into their shop or FB page to say Thank You.

Please do.


3) You may enter on as many or as few days as you wish. Yes, that means you or someone else may win on more than one day, and that is absolutely A-O.K. Also, sponsors may enter only on days that their item is NOT being featured. (aka, don't enter for your own item). Might seem silly, but it's a good reminder, trust me ;)

4) Winners will have 48 hours to claim their prize. If not claimed after 48 hours a new winner will be drawn for that days prize.


5) Have fun and Good Luck!!

Monday, August 13, 2012

Still here!

No, I haven't fallen off the face of the Earth. I am still here, and still super busy, which is the reason for the lack of updates.

Even though the "busy-ness" is still in full swing, I wanted to take a moment and hop on quick for a super exciting update :)


I recently had the chance to work again with a super sweet lady named Jenny from Crossing the Bugger-Dixon Line. She  is incredibly talented and so amazing to work with.

She designed  a Roller Skate Party that was featured in the most recent issue of Bird's Party Magazine (and this is not the first time she has been in the magazine!)

Now, some of you may have never heard of Bird's Party Magazine, but you should DEFINITELY have it on your favorites list!

These are what I sent her:

You'll have to head over to the digital copy of the magazine (it's free to read!) to see the final result and how she used them though :)

There are TONS of great parties, goodies and fun in the 140 page issue, but be sure to spend some extra time on pages 18-23 :)

Enjoy, and have a great week everyone!

Friday, April 13, 2012

Kusudama Flowers: By the Numbers

I was contacted about 6 months ago by a company in Florida named Greenery Productions. They were looking for 156 of my Kusudama Flowers made from maps, and would need them delivered in a few weeks. I figured out how many flowers I would need to make per day in order to be able to deliver them on time, and agreed to make the flowers for them.

Somehow I got a bit behind in my timing of folding and ended up having to assemble them throughout the Thanksgiving weekend, but I was able to finish them, and deliver on time. 

The first order, with blue and green embellished centers.

I was contacted again at the end of March with a request for 175 flowers, this time with red centers. The company that wanted them would need to make a decision by the 5th if they wanted to go ahead with the order, and the order would need to be there for April 16th.

I looked at the date and calculated it out that I would need to make just 12 flowers per day in order to be able to mail them by the Wednesday before and be delivered on time. Totally doable, right? Right. So I said I would.

Somehow, the following week after that got EXTREMELY busy with appointments at the office (I'm also a Licensed Massage Therapist) and things at home and other orders that were somehow falling behind (really, where in the world is time going???)

All of a sudden, it was the 5th, Greenery Productions contacted me saying that yes, the company WOULD like to go ahead with the order.

I had yet to cut a single peice of map.

*GULP*

It was time to "hunker down" and get to business.


Somewhere around 4am yesterday morning, as I was gluing petals together, I was thinking about how much work I had done over the past week (yes,  just 7 days!).

So here are the facts:

175 Flowers with 175 Stems and 175 Red Glass Beads.

Each flower has 5 petals = 875 single petals.

Each petal was cut from a recycled map, with an average of 3 of those sides being cut by me (this accounts for the ones cut along the edge that didnt need that side cut, and the ones in the middle  that did)  = 2625 cuts.

Each petal consists of 12 folds = 10,500 (!!!!) folds.

Each petal is glued into form, then held with 2 binder clips until dry = 3,500 squeezes of the clips (4 times each petal- twice to put them on, twice to take them off).

Each petal is glued into form, and then they are glued into groups of 2, then those groups of two are glued together into 4 = 1,225 squeezes of the glue bottle.

The final petal is glued on with hot glue at the same time as the stem. When all the stems and petals are together, the beads are then placed, also with hot glue = 350 squeezes of the glue gun trigger, and 5 long glue sticks.

They shipped in one very large box = 9 pounds 8 ounces total.

*PHEW*

I'm beat.

Honestly, I have never pulled an "all nighter" for work or school or anything other than when I was younger and sleeping over at a friends house. And although I didn't this time either, the 2 hours of sleep I snuck in from 5-7am yesterday really DIDN'T help much.

But they are done, they are shiped, and will be arriving well before the deadline.
All 175.
Don't mind the toys in the background. Housework was delayed until I finished.


I think these flowers are beautiful, especially with the added center bead and love that they can be changed for any decor.


Happy Friday the 13th everyone! Hope you have a beautiful weekend!