Remember way back on Memorial Day I said I would post a tutorial for these cute hanging lanterns we made?

Well it's finally here! And, since it's SO simple, I've decided to also share a tutorial for another SUPER easy yummy treat that I made last week - individual mini-pies!
Dress Up Hanging Lanterns:
Materials:
- Paper Hanging Lanterns in colors of your choice
- Stickers in corresponding theme for your event
- Twine, string, jute, filament, or something for hanging
- A helper (optional)
Step 1:
Open the hanging lanterns and insert the form holders.
Step 2:
Decorate with the stickers (here is where your helper comes in handy, as there is a LOT of room on one of those lanterns!)

 |
| It's always good to take some "silly time" during a project. |

Step 3:
Hang them!

I told you it was easy!
It's such a simple way to add extra "oomph" to such a versatile decoration!
Ok...I'll admit it.
I bought my lanternson sale at Michaels for less than $1.00 each. The stickers were $2.00 each pack, and each lantern has about 3/4 of a pack on it, so not only was it easy, but also budget friendly to make these.
If you can't find the colors you want at your local craft store, you can purchase them here:
weddingshop.theknot.com where they are also very inexpensive and they offer up to 20 different colors (depending on what's available)!
Ideas for other themes:
White lanterns with red hearts and roses for Valentines Day.
Red and Green lanterns with ornaments, trees and light bulb stickers for Christmas.
Blue lanterns with silver snowflakes for winter.
Black lanterns with pumpkins and leaves or Orange lanterns with black cats for Halloween.
Blue or pink lanterns with baby rattles, pacifiers and baby feet stickers for a baby shower.
and on and on and on....
I'd love to see pictures of your decorated lanterns!
Individual Mini-Pies
A week or so ago I was getting ready to make dinner and decided we needed some dessert too.
Well...we didn't NEED it...but we needed it, you know?
So I'm looking through the cabinets to see what we have.
Brownies? No...Cake? No....Cookies? Meh....
Nothing sounded really, really good. Then I saw two cans of pie filling tucked away in the back. I'm not a huge fan of canned pie filling, and pie is a bit messy with a 2 year old, but a lightbulb clicked in my head when I remembered we just picked up a set of round dough cutters that I had yet to use!
You can, of course, make your own dough and use fresh fruits for filling like a regular pie, but I used what we had on hand and they were still quite tastey!
Ingredients (fast and simple way):
- 1 box ready made pie dough for a two crust pie
- 1 can (size) of pie filling in your favorite flavor (I thought ours was cherry until I opened it and it was actually strawberry. Still yummy!)
- Muffin or cupcake pans, (how many you need depends on how many you make!)
- Circle Dough cutter or cookie cutter (or just make a rough cut with a knife)
Step 1:
Preheat oven to 350*F.
Unroll ONE crust onto your work surface. I used our kitchen table.
Cut out as many circles from that crust as you can.

You can then knead the remaining dough into a ball and roll it out again and cut out a few more.
I was able to get 11 from one crust.
Step 2:
Place each of the dough circles into a spot in your cupcake pans.

My largest circle cutter is 3 inches across and this would have worked better if they were a bit bigger, so try to to fill each spot so that the dough is to the TOP of the bowl (maybe a 4-5" circle).
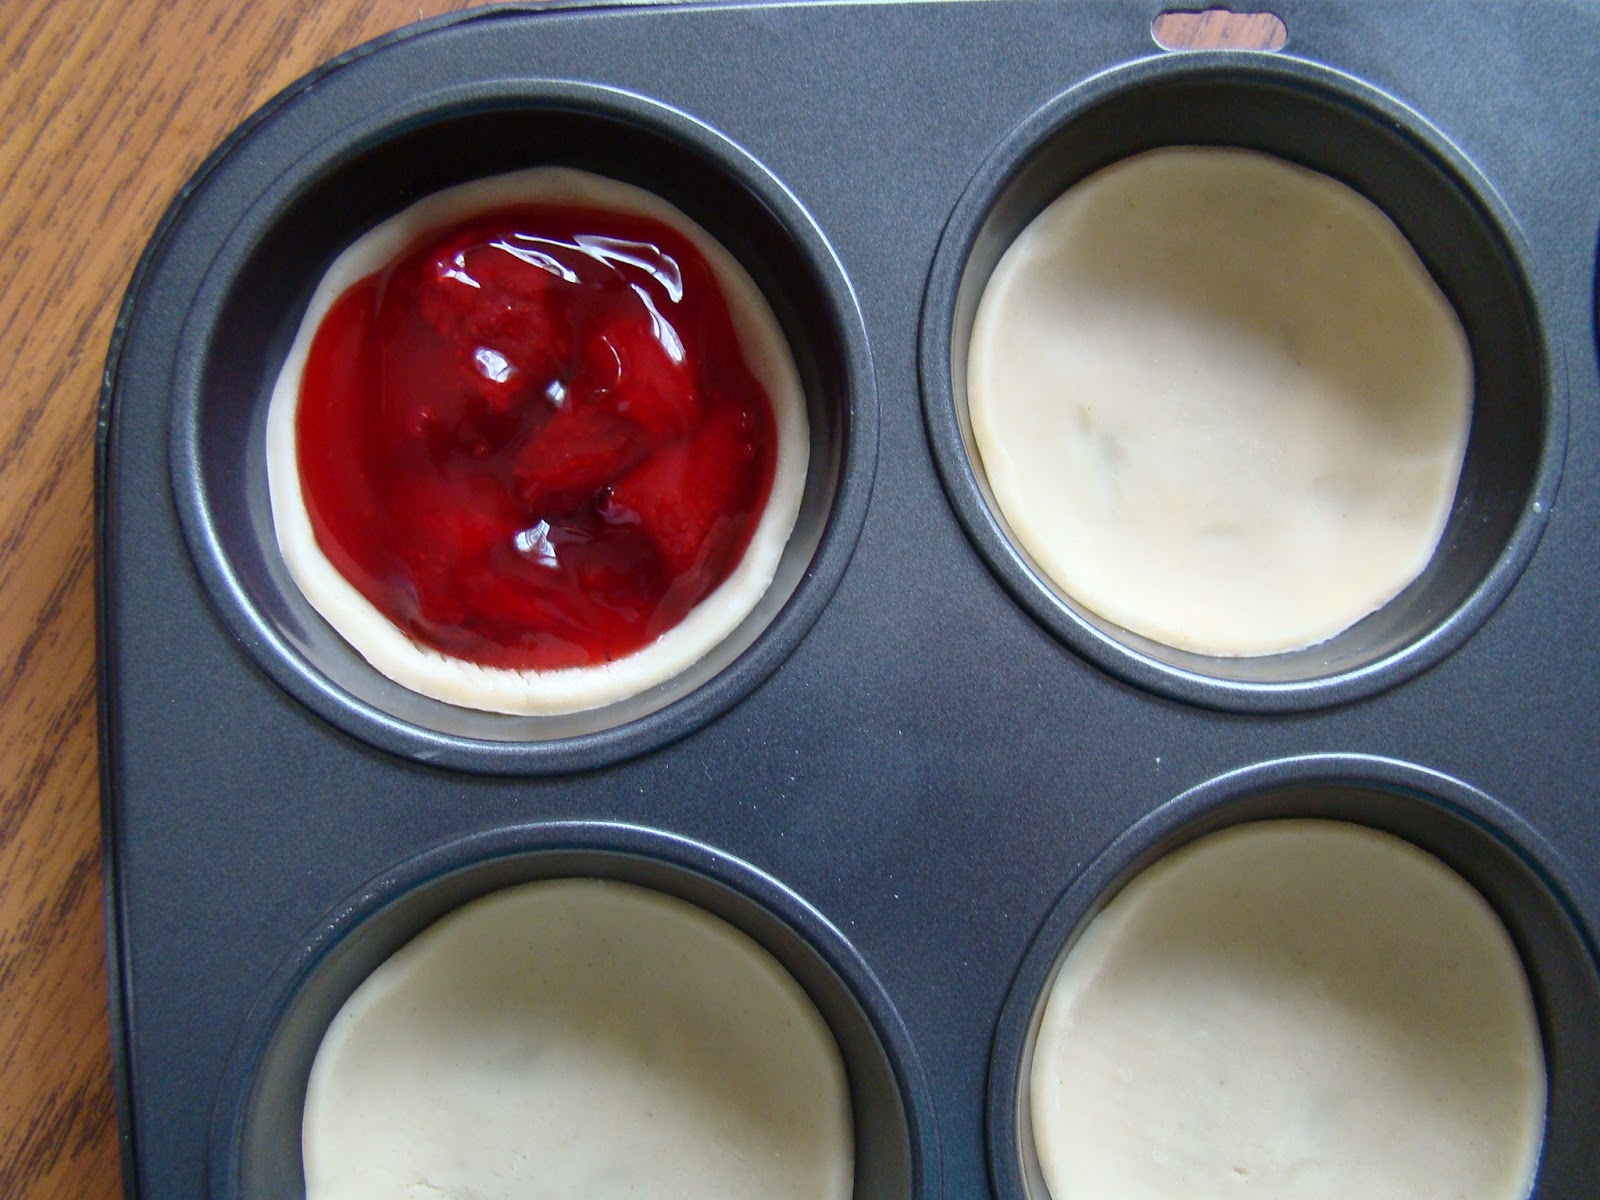
Step 3:
Place a couple of spoonfuls of each mixture into each pie crust, until they are just full.
(for me this was about 1-2 strawberries in each one, since my pie dough wasn't big enough)
Step 4:
Unroll the other crust onto your work surface, and cut an equal number of "top crusts" for your pies.
Place one circle of dough on top of each mini-pie.
Seal the edges by pinching them together or twisting them like a regular pie if you have enough dough around the edges.
Poke a couple holes in the top of each pie (I tried using a fork, but the tines were too blunt to make the holes without messing up my crust, so I used a knife for the rest)


Step 5:
For many full size pies you would cover the crust with foil for the beginning of cooking to prevent the crust from browning too quickly. Since I couldn't cover just the edges, I covered the whole pan with foil and removed the foil after about 25 minutes of cooking.
You may want to put an old cookie sheet or drip pan on the shelf below the pies as there may be some spillage. (It's a good thing I did, or else we would have had a mess in the oven!)
Let cool, and enjoy warm with vanilla ice cream, whipped cream or cool whip on top (delicious!) or just as is!


Ok, so they dont LOOK perfect, but they were gone by the next day, so they tasted pretty darn good!
~*~*~*~*~*~*~*~*~*~*~*~
Remember I said I would keep you updated on the birds nest in our flower basket? Well, I've been taking pictures of them every few days (ALL 6 eggs hatched!), and will have a full post about them coming up in the next week or two. They just started chirping a couple days ago, and we can hear them every time momma bird comes to feed them! Here is a little peek at them:

Enjoy and have a great weekend everyone!


No comments:
Post a Comment